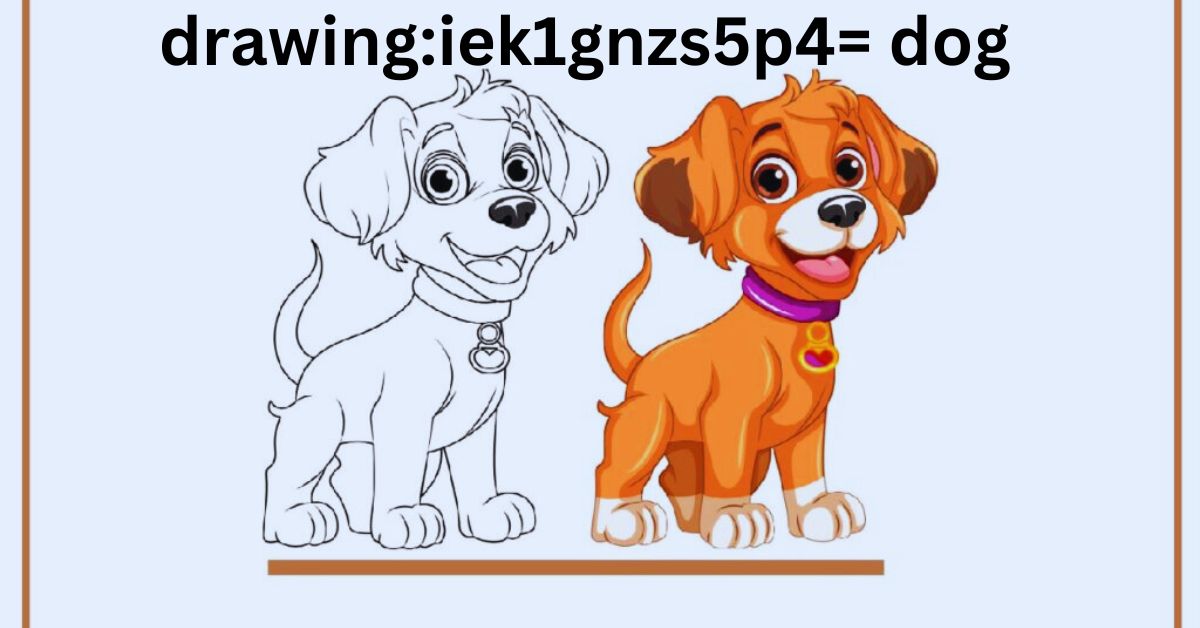
Drawing a dog can be a fun and rewarding experience, even for beginners. With the right techniques, anyone can capture the unique shapes and features of a dog.
The basic anatomy of a dog is crucial for creating realistic drawings. Once you familiarize yourself with its shapes, like the head, body, and legs, you’ll have a solid foundation to add details like fur and expressions. Patience is key to mastering these elements.
With practice, beginners can improve their skills and start drawing different dog breeds. Following this guide will make the process enjoyable and help you create drawings that capture the personality and charm of dogs.
How to Draw a Dog Step-by-Step?
Step 1: Draw the Basic Outline of the Dog’s Head
Start with an oval or circular shape to outline the dog’s head. This will serve as the foundation for its face. Lightly sketch so you can adjust it later as needed.
Step 2: Add the Snout and Nose
From the head outline, draw a small rectangular or rounded shape to form the snout. Then, add a small oval or triangle for the nose at the end of the snout.
Step 3: Sketch the Eyes
Position two circles above the snout for the eyes. Try to leave a bit of space between them to keep proportions accurate. Add pupils inside each eye for a realistic look.
Step 4: Draw the Ears
Draw two triangular or floppy shapes on each side of the head for ears. The ear style may vary depending on the dog breed you’re drawing.
Step 5: Shape the Face
Use smooth, curved lines to connect the ears to the snout and head. This will add a more natural outline to the dog’s face.
Step 6: Add Facial Details
Add details to the face, such as eyebrows, additional fur lines, and shading around the eyes. These details will give the dog expression and depth.
Step 7: Outline the Body
From the head, extend lines downward to sketch the neck and body. You can start with a slightly curved line to show the posture of the dog.
Step 8: Draw the Legs
Draw two front legs extending from the body. These can be simple straight lines that widen at the bottom for the paws. Repeat for the back legs.
Step 9: Add Paws
Draw the paws by adding small rounded shapes at the bottom of each leg. Include small details for the toes to make the paws look more realistic.
Step 10: Sketch the Tail
Add a tail on the back of the body. It can be curled or straight, depending on the breed. Use light lines to create a natural, furry texture.
Step 11: Create Fur Texture
Using short, quick strokes, add texture to the dog’s body and tail. These strokes represent fur and add depth to your drawing.
Step 12: Refine the Outline
Go over the outline of the entire dog, refining the lines to make the shape clear. Erase any unnecessary lines from the initial sketch.
Step 13: Add Shading and Highlights
Add shading to areas like the underside of the body, around the eyes, and inside the ears. Leave some highlights to show where light hits.
Step 14: Finalize the Facial Features
Darken the nose, add depth to the eyes, and finalize the shape of the mouth. These final touches will make the dog’s face expressive.
Step 15: Add Background (Optional)
If you’d like, add a simple background to complete your drawing, such as grass or a doghouse, to give context to your dog’s surroundings.
Conclusion
Drawing a dog becomes easier when you follow a structured, step-by-step approach. With practice, your skills will improve, and you’ll feel more confident about your artwork.
As you continue practicing, you may find new ways to add personal touches to your dog drawings. Try focusing on different fur textures, poses, and expressions. This will make each drawing unique and more enjoyable.
Remember, drawing is about enjoyment and expression. The more you draw, the better you’ll get, so keep your passion alive and share your creations.
FAQs
1. What tools do I need to draw a dog?
A pencil, eraser, and paper are enough to start, but you can add color with markers or colored pencils.
2. Can I draw any breed using this guide?
Yes, these steps work for any breed; just adjust the ears, body shape, and fur texture.
3. How do I make my dog drawing look more realistic?
Add shading and texture to give depth and detail to your dog drawing.
4. What are common mistakes when drawing a dog?
Proportion errors in the head, body, and legs are common; practice can help improve accuracy.
5. Should I draw light or dark lines initially?
Start with light lines so you can make adjustments easily; darken them once you’re happy.
6. How can I improve my dog’s expression?
Focus on the eyes and mouth; slight changes can show emotions like happiness or curiosity.
7. What’s the best way to add fur details?
Use short, gentle strokes to layer the fur, and vary line length to create a natural texture.
8. Do I need to include a background?
A background is optional but can add context to your drawing, like grass or a dog bed.
9. How long does it take to get good at drawing dogs?
With regular practice, you can see improvement in a few weeks to months.
10. Can I draw a cartoon-style dog instead of a realistic one?
Absolutely! Use the basic shapes as a guide and simplify details for a cartoon effect.


